

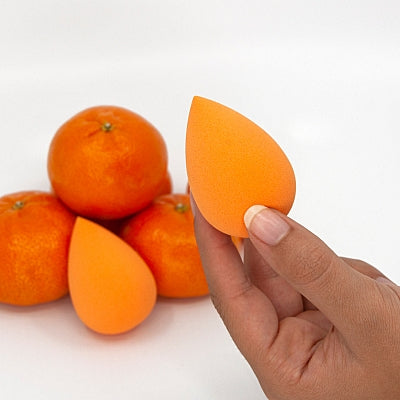
Blend to perfection with the Niré Blending Sponge
Soak, squeeze, and blend your way to a flawless face with our Niré Beauty Blending Sponge. It really is that simple, but if you want the full recipe for seamless skin and an all-over glow, keep reading for the best blender tips and tricks…
What you will need:
Niré Beauty Blending Sponge
Water
Your favourite base products
Recipe for success:
Run your blending sponge under clean running water. The Niré Blending Sponge is water activated so if you want to get the best out of your sponge you’ll need to soak it with water before use. After soaking your sponge it will grow slightly in size as it soaks up the water. Designed to be used wet, your sponge will absorb the water to stop it soaking up any of your much-loved cream or liquid make-up products and leave a radiant and natural finish on your skin.

After wetting your sponge, don’t forget to squeeze out any excess water. Your blender should have absorbed some, but it is designed to be used damp — not fully saturated. Remember to give it a good squeeze before use!
HINT: the dampness of your blender will determine how much coverage you get from your make-up, so if you want less coverage for a more natural look, it’s better to use your sponge a little bit damper. If you want a fuller coverage look, squeeze away!

Now for the best part! Once your blender is prepped at your ideal size and dampness, you’re ready to start applying your base make-up. Dip your blender into your foundation, concealer, or tinted moisturiser and use dabbing motions to stipple it onto your skin. If you have activated your sponge with water it shouldn’t soak up any of your product and will glide smoothly onto your skin for natural stress-free blending!

HINT: Use the flat side of the blender for larger areas of the face such as the cheeks or forehead, and use the pointed tip of the blender for harder to reach areas such as under the eyes and around the nose. We also recommend using fast dabbing motions as this will help build coverage and shouldn’t leave any harsh lines which can appear if you use a dragging motion instead.
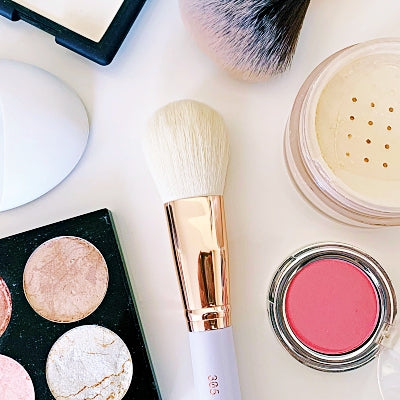
One last tip! For those of you who wouldn’t dream of applying your base without your favourite foundation brush, use your damp blender to go over your whole face after applying foundation with a classic face brush like our 140 Flat Top Kabuki or 130 Soft Focus Stippling. This will help reduce any streaks or lines left by your brush, ensure your make-up sinks into the skin so that it lasts for longer, and leave a natural dewy finish!
WANT MORE?
We hope you didn’t think that applying foundation products was all your magical little sponge could do! The Niré Blending Sponge is versatile enough to be used with all your cream, liquid, and even powder products. So once you’ve got to grips with the basics of how to use your blender, why not branch out and try the following things?
Contour and Highlight
If you want to add some extra dimension and definition to your face, try using your blender to blend out your cream contour or highlight products. After applying your foundation, add your contour to areas of your face that you would like to have more definition such as under the cheekbones and along the jawline. Dampen your blender and use the same bouncing stippling motion to blend out your contour using the side of the sponge. Once you’re happy with your contour, add cream or liquid highlight to the high points of your face such as your cheeks, and use your blender to stipple it onto the skin for a natural-looking glow.
Rosy Blush
Add some colour to your look by using your blending sponge to apply cream blush or liquid cheek stains. Remember to dampen your sponge first so that it doesn’t soak up any of your product, then gently apply it to the apples of your cheek for a cute rosy glow. The damper your sponge is, the more sheer and natural your blush will look, so play around with building up colour by layering your blush to find your ideal shade.
Translucent Powder
You might have thought that your blending sponge was only compatible with cream or liquid products, but this versatile sponge is full of surprises! Set your undereye concealer and foundation with translucent powder by dipping the tip of your damp sponge into your powder and lightly pressing it underneath the eyes to stop your make-up from moving or creasing. It’s the perfect finishing touch to ensure your glow stays on all day long.
Happy stress-free blending everyone! Don’t forget to tag us in all your beautifully blended looks so we can share the love — you can find us on Instagram and Facebook at @nirebeauty
WITH LOVE,
NIRÉ BEAUTY